The first step was replicating the mitred-butt joint. This seems easy, but actually requires a fair bit of precision, as it’s not possible to clean the end on a shooting board. I use a Japanese crosscut saw for making the crosscut and the mitre. I then added the extension to form the “L” on either end using dowels, and added the end mitred trim piece.

The top and bottom plates are separated by a 3½” vertical piece with corners joined by 1″×1″ posts instead of 45° mitres. Internally, the box will be supported by 1″×2″ poplar structural components. With a mantelpiece it is all about the forward view, as it is rare that the top will be directly viewed from above, nor the sides. My approach to this project is to semi-construct the mantelpiece as it progresses, to be able to obtain an appreciation for its dimensions and make appropriate changes to the design.
Next, I used two Tapcon screws to seat the base on the mantel. The 2×4 blocks behind were glued on initially to allow the top of the mantle to be secured, but I didn’t end up actually using them.

Mounting the base layer.
Next I added the front panel. Now this piece developed a slight crook, which had to be fixed. I remedied this by gluing a second piece of ¾” cherry behind it, and clamping out the crook. Then it just needs some glue and a bunch of clamps to attach it to the base.

Gluing the front panel
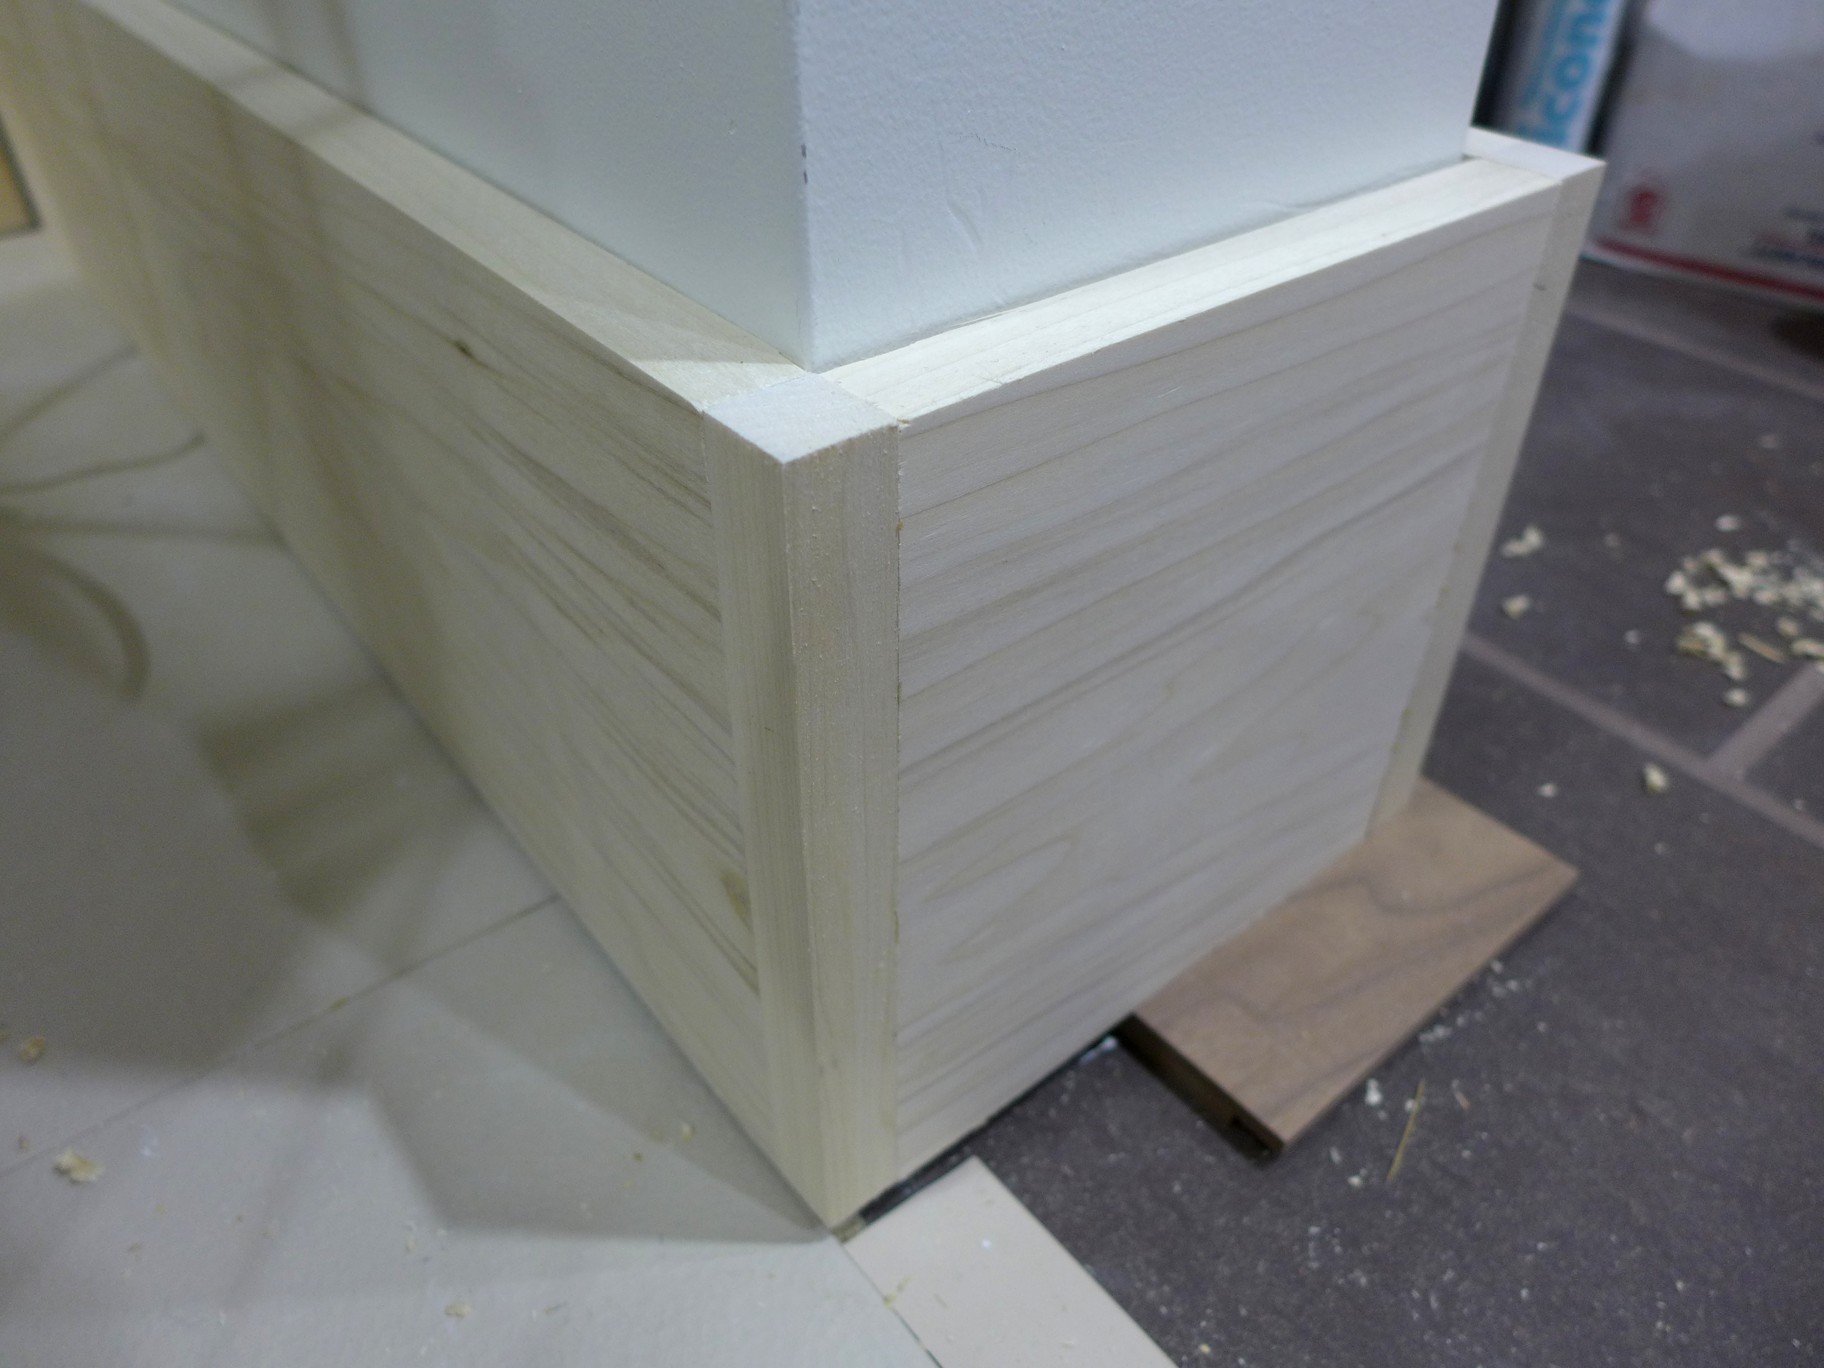
Next I glued on the end pieces (which already had the 1″×1″ corners attached at either end). Attaching the end pieces was a bit of an acrobatic clamp assembly. Before gluing them in, I glued a scrap 3″×3″ oak block on each corner to help facilitate attaching the ends (and make it ultra-strong).

Attaching the end pieces.
Once the ends were attached, I filled the inner portion of the mantel with a series of torsion supports, made of poplar. They are glued to the base layer of the mantel. Now I planed and sanded the outside of the panels.

The inner workings!
This is what the corners of the mantel looks like inside. The back corner does not touch the wall, but I continued it around to allow more gluing surface for the upper panel. Also note the block of wood (on the left) in between the 2×4 on the back wall of the fireplace, and the lower panel. I added these in and glued them using Gorilla construction adhesive.

The inner part of the corner.
Finally I glued a ½”×½”, trim piece under the lower panel, to help hide the gap between the brick base and the wood.

Adding the lower trim.